An LED wall can look perfectly stable in a room and still flicker on camera. That is not always a faulty screen. The camera samples light in slices while the LED display is refreshing and scanning its pixels. When those cycles meet badly, the recording can show rolling bands, dark scan lines, pulsing brightness, or a color shift that nobody sees with the naked eye.
This is why a camera-friendly LED screen cannot be chosen by pixel pitch alone. Refresh rate, scan mode, driver behavior, processor settings, brightness, camera shutter, frame rate, lens distance, and content all belong in the same discussion. The practical cure is a specification plus a shot test, not a promise that a number on a sheet will fix every camera.
Why an LED Screen Flickers on Camera
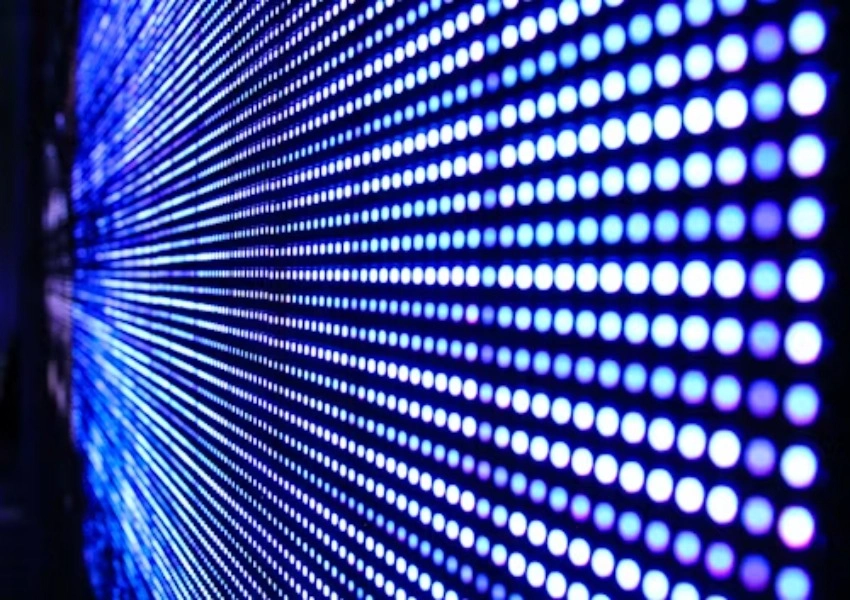
LED pixels are driven rapidly rather than glowing as a continuous source. The display refreshes its image many times per second, and a camera exposure samples only a short period of that activity. If the shutter opens during an uneven part of the refresh cycle, the sensor may record one section brighter than another. With a rolling shutter, that difference can move across the image as a band.
LED screen scan lines are related but not identical to general flicker. They often appear when the camera reads the image line by line while the wall is using multiplexed scanning. The look can change when the operator changes shutter speed, frame rate, or camera angle. A phone test is useful, but it does not replace testing the actual cinema, broadcast, or live-stream camera.
Refresh Rate Is a Starting Point
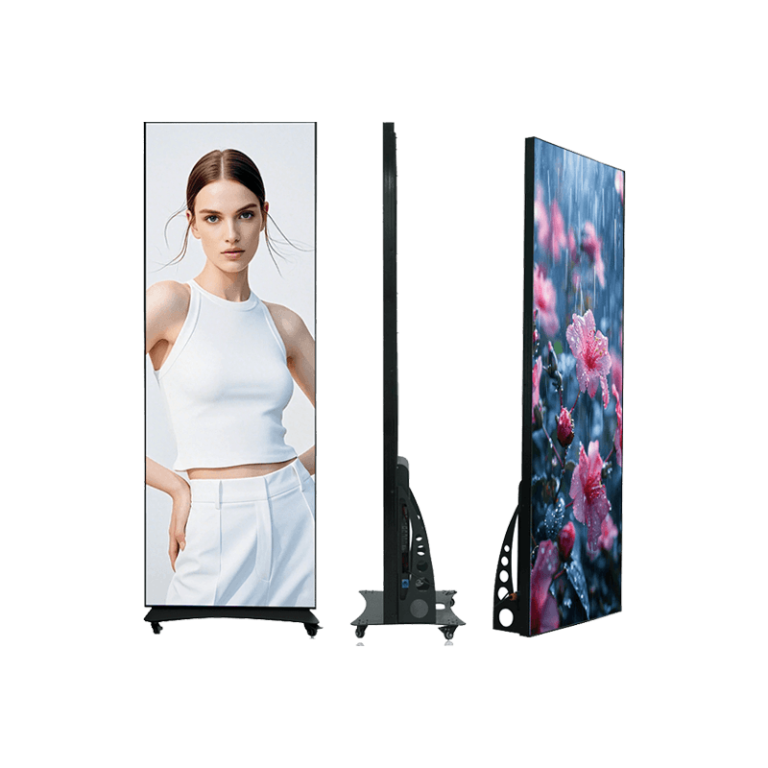
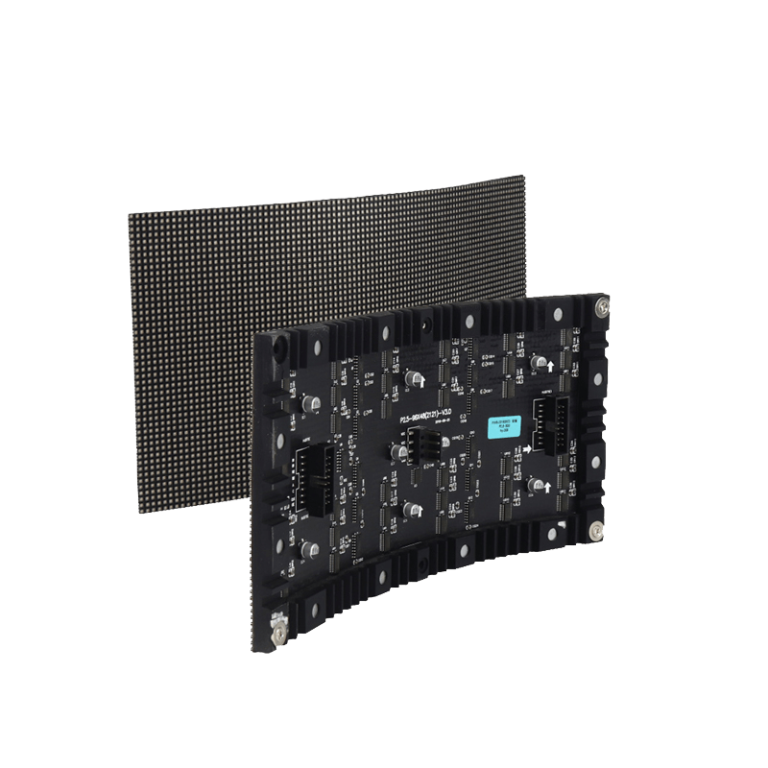
A higher LED display refresh rate gives the camera more frequent image updates and usually reduces visible artifacts. Leyaled has 3840Hz specifications for several indoor flexible configurations and 7680Hz specifications for event-oriented indoor and outdoor cabinet families. These figures show why buyers should ask for an exact configuration rather than assume every product using the same pitch has the same camera behavior.
A 3840 Hz LED display may be suitable for many studio or event uses, but it is not a universal pass mark. The scan ratio, IC design, grayscale at low brightness, processor, and the chosen camera settings can still alter the result. The specification should name the tested brightness range and processing path, not only the highest refresh figure.
Match the Wall to the Camera Workflow
The camera department normally controls shutter angle or shutter speed, frame rate, ISO, and sometimes genlock. The LED supplier controls the cabinet, receiving card, driver setting, processor, and calibration. Problems appear when these groups work separately. A buyer should arrange a shared test long before shoot day, using the intended camera body, lens, frame rate, shutter settings, and a few real scenes.
Test static white, mid-gray, dark saturated colors, slow gradients, skin tones, and fast motion. White can reveal banding; dark scenes show poor grayscale; gradients expose uneven calibration. Then move the camera, rack focus, and try the shutter values that the production expects to use. A good test records the settings, so the final build can be set up the same way.
Brightness and PWM Matter Too
A wall is often dimmed for a studio, and low brightness is where poor drive behavior becomes easier to see on camera. Pulse-width modulation and grayscale processing may interact with exposure differently at 20 percent brightness than at full output. Ask the supplier to show the wall at the planned working brightness, not only at a bright showroom setting.
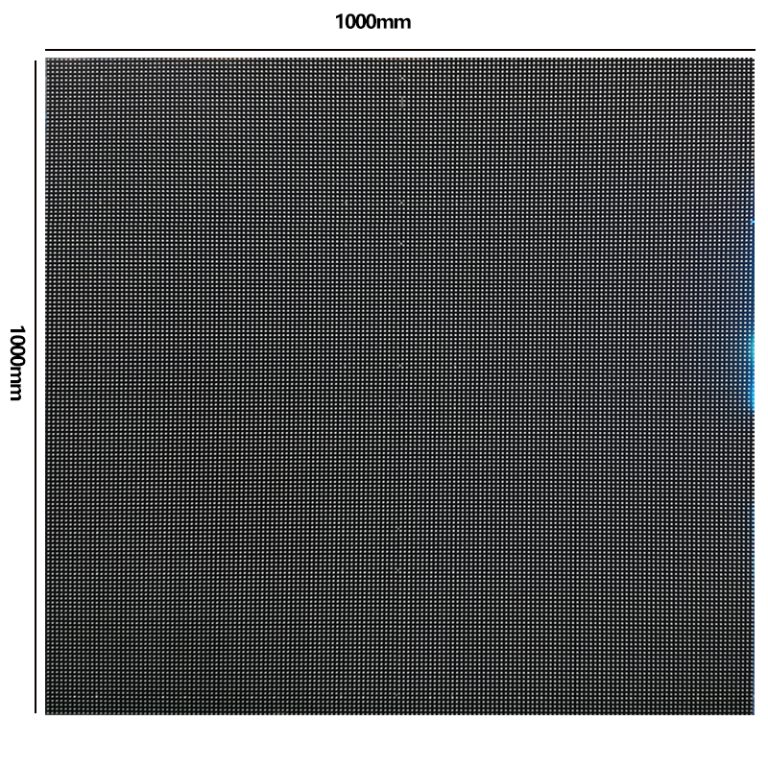
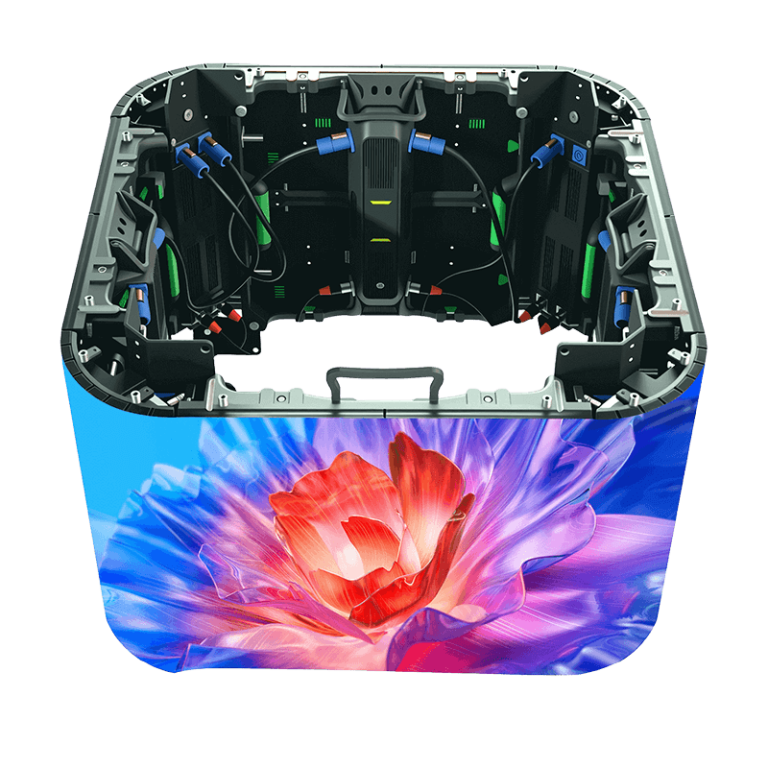
For example, display interior P3.91 equipment is relevant when close camera positions and indoor viewing are part of the brief. It has high refresh, seamless splicing, die-cast aluminum cabinets, and front or rear maintenance. Those are useful project features, yet final acceptance should still be based on recorded footage at the intended brightness.
Procurement Questions That Avoid a Bad Surprise
Before ordering, request the actual refresh rate, scan mode, driver IC model, grayscale specification, supported brightness range, and the processor recommended for camera use. Ask whether calibration is done by module or cabinet and how the supplier handles replacement modules. A spare module that differs in color or brightness may be obvious in a close shot even when it is acceptable in a distant live audience view.
Leyaled has high grayscale levels in flexible screen configurations and factory testing that includes temperature cycling and brightness decay checks. Those controls matter because stable electronic and optical behavior gives the camera team a more dependable baseline. They do not eliminate the need to approve a sample wall under production lighting.
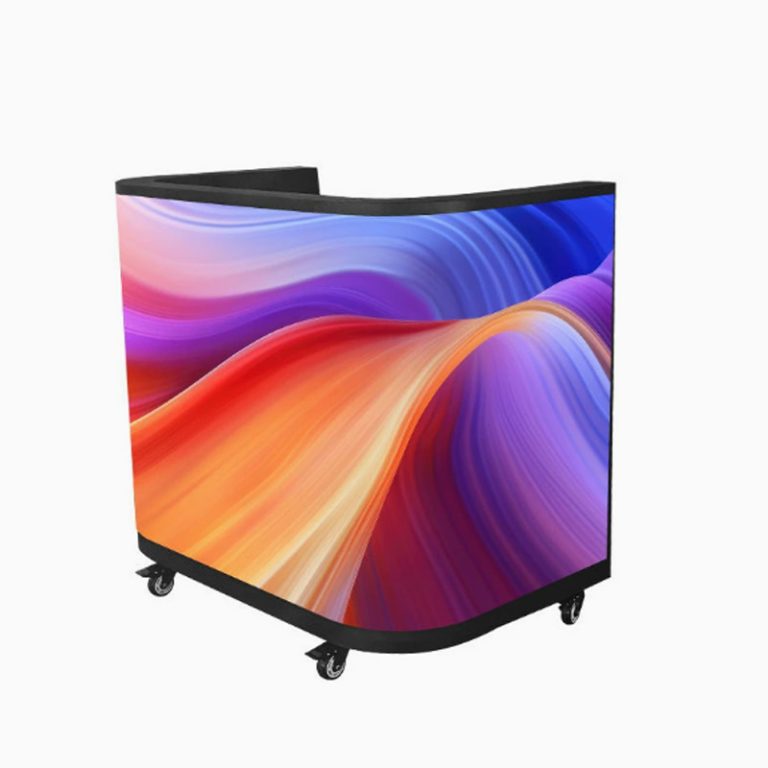
Links should match the purpose of the wall. An display flexível para ambientes internos can suit a curved or space-limited camera set, while an ar livre LED display has a different brightness and weather brief. Do not buy an outdoor-rated screen for a dark studio merely because the refresh number looks impressive.
Use a Camera Acceptance Test, Not a Demo Clip
A supplier demo can hide the conditions that cause trouble: a short exposure, a fast pan, a deep dim level, or a certain processor input. Build an acceptance checklist around the real production. It should include camera model, lens, frame rate, shutter angle or speed, distance, wall brightness, content files, processor, and recorded samples from several wall areas.
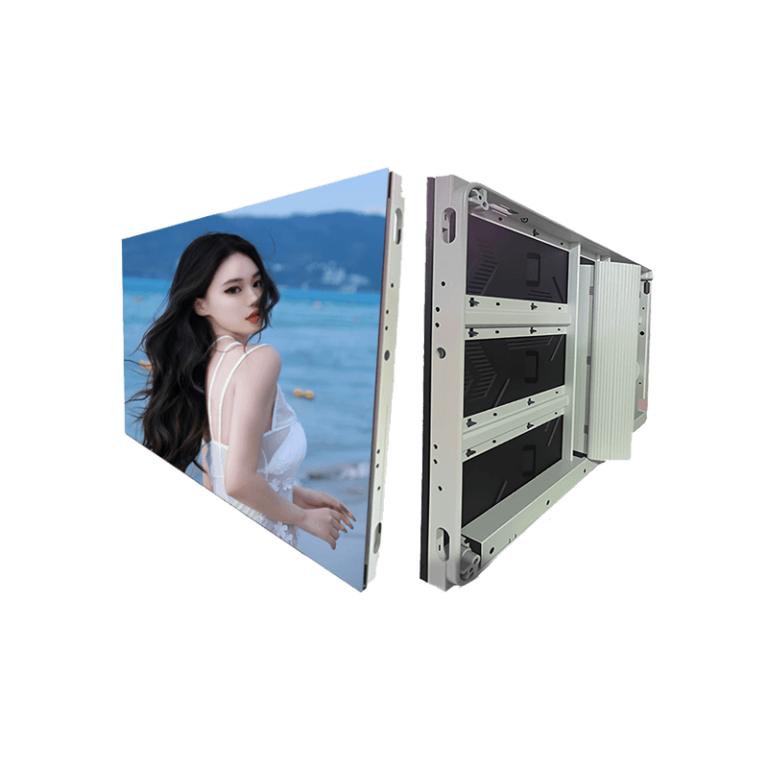
The test should also cover signal recovery. Switch inputs, test the backup path if one is specified, and view the restart behavior through the camera. In a live program, a brief image flash can be more damaging than a small cabinet issue. For bright outdoor recording,ar livre PTela de 6,25 polegadas specifications such as IP65 protection and high brightness solve a different set of risks, so keep the camera test separate from environmental validation.
A Better Way to Specify Camera-Friendly LED
Write the purchase requirement around the actual shoot. State that the LED wall must be tested with the intended camera settings and content at the working brightness. Require written results for refresh rate, scan configuration, brightness uniformity, color calibration, and any recommended shutter ranges. It is also sensible to define how a replacement module will be matched after installation.
Leyaled can support this kind of technical review with its display manufacturing experience, automated production capability, and 72-hour factory testing. When comparing the Lprovíncia proposal, treat camera footage as the acceptance evidence. A clean image on the planned camera matters more than a broad marketing claim about anti-flicker performance.
FAQ
Q1: Does a higher refresh rate always stop LED screen flicker on camera?
A1: It helps, but scan mode, driver behavior, brightness, processor settings, camera shutter, and frame rate also affect the recorded result.
Q2: Why do scan lines appear only at some shutter settings?
A2: The camera samples the display at a different point in its refresh and scan cycle. Changing exposure timing can make the mismatch visible or hide it.
Q3: Should camera tests use final content?
A3: Yes. Include white, gray, gradients, dark colors, motion, and real talent or wardrobe where possible, because each exposes a different screen issue.